2018: A Digitization and Data Migration Odyssey
By John Pellman
Recently I journeyed into the hinterlands of upstate New York to visit my mother for the entire week of Memorial Day weekend. This was partially to be a good son and keep my mother company, partially to escape the air and noise pollution of New York City for a world of grass and open spaces, and partially to help with another large family project- a general cleanup and decluttering of my mom’s house. Since my dad’s passing, it’s become increasingly obvious that my childhood home is too packed with odd objects and artifacts that needlessly complicate my mom’s life, and I wanted to do my part to get rid of some of those bits and pieces.
As someone working in the library space, my focus was drawn immediately to perhaps the biggest contributor to clutter in the house- obsolete analogue and digital media formats. From 8mm tapes to audio cassettes to VHS tapes, Jaz disks and floppies, the family house is littered with all manner of data that can now be stored on thumb drives and other modern media that take up a fraction of the physical space. With a mission in mind, I began preparing myself in advance by ordering supplies on Amazon and eBay to facilitate (as the title would imply)… a home-based digitization and data migration odyssey! Now, I know that there are a number of companies that are out there that would do this professionally, but costs can be prohibitive for an individual household (and candidly not worth it for some of the items I brought into the 21st century) and I wanted a fun and relaxing project to work on during my break from work (the irony is not lost on me).
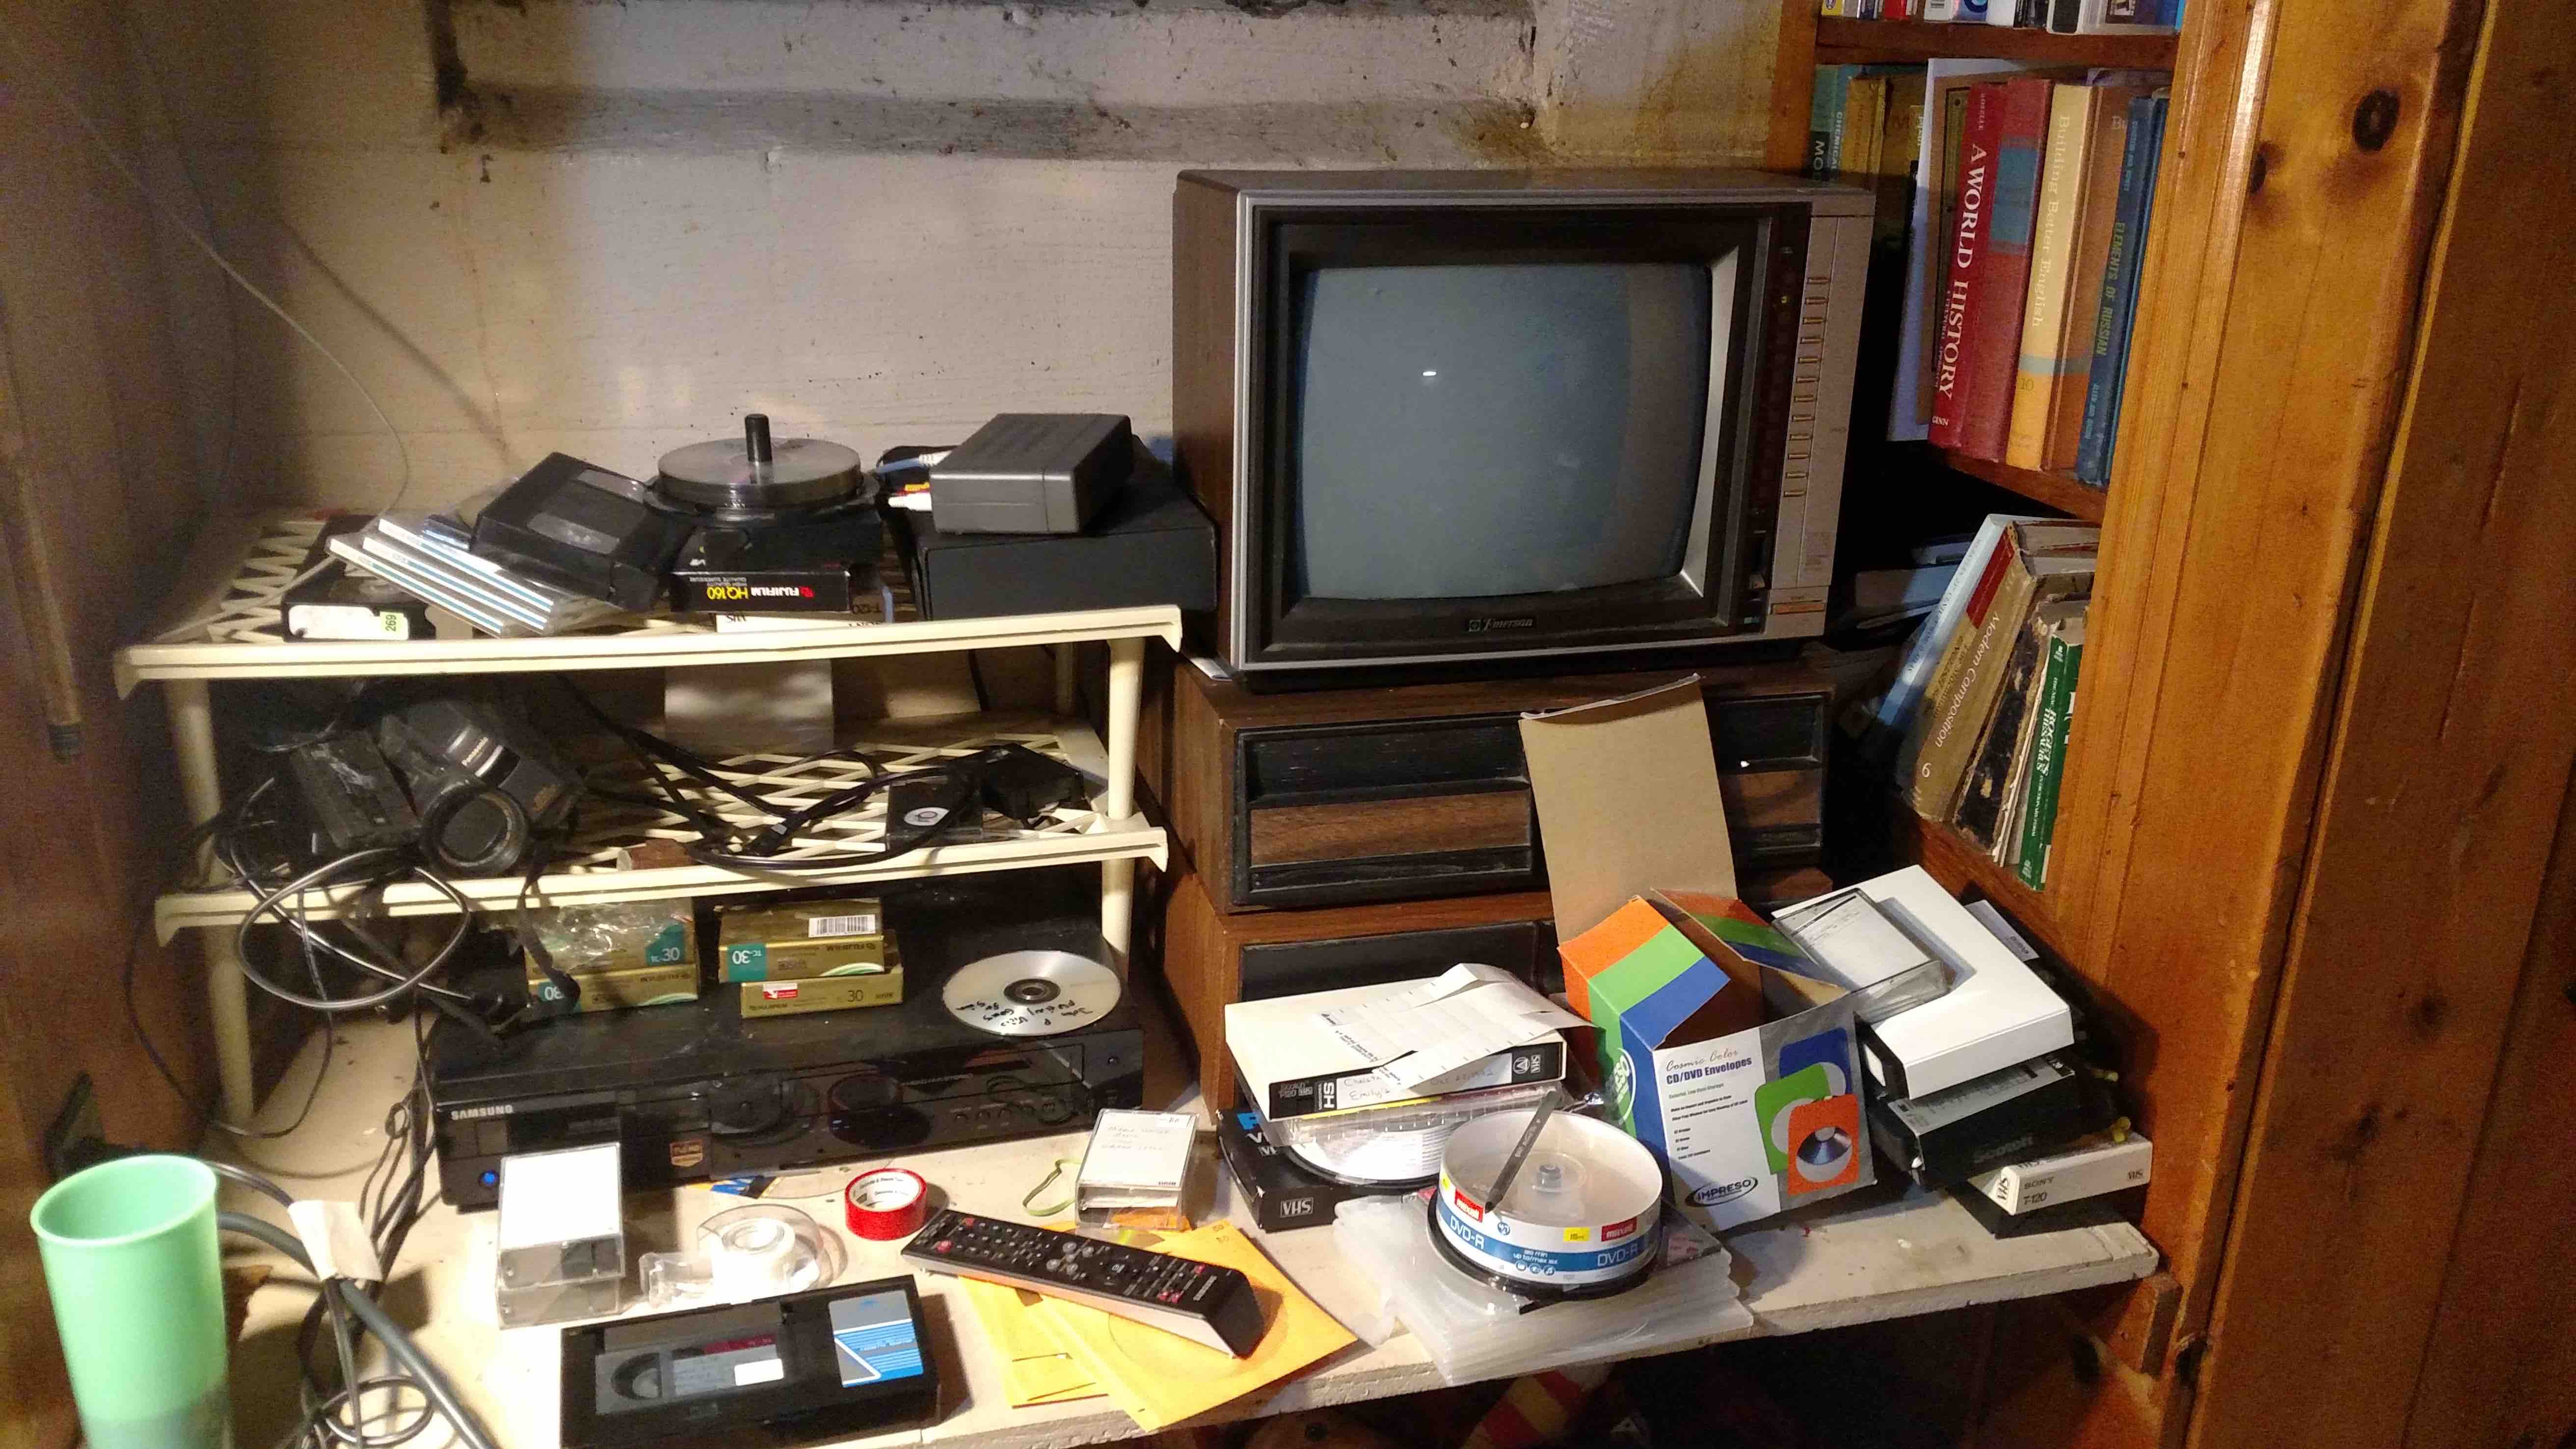
One of the first tasks that I needed to do involved winding up an earlier endeavor that I had nearly finished last December (I had begun this particular subgoal around 2010 but had only been able to work on it piecemeal since then). There were a number of VHS and VHS-C tapes that needed to be migrated to a digital medium (only unique home videos; nothing that could be found on Netflix). The bulk of these tapes were converted through a process that involved playing the tapes back in real time and recording them to DVD with a DVD/VHS combo player and then ripping the DVDs using Handbrake with the Fast 720p30 setting (chosen primarily because it matched the DVD resolution and was already more than enough to work well given the quality of VHS recordings; admittedly it might not be the ideal setting). Most of the VHS tapes around the house had undergone this process, but there were a few stragglers (some of which were duplicates of tapes that I ripped earlier, but possibly with higher quality). And thus I set out to digitize the remaining few at a slightly cluttered station:
 |
|---|
| The VHS-to-DVD Conversion Station, complete with cranberry juice, disk sleeves, DVDs, labels, a pen, and love |
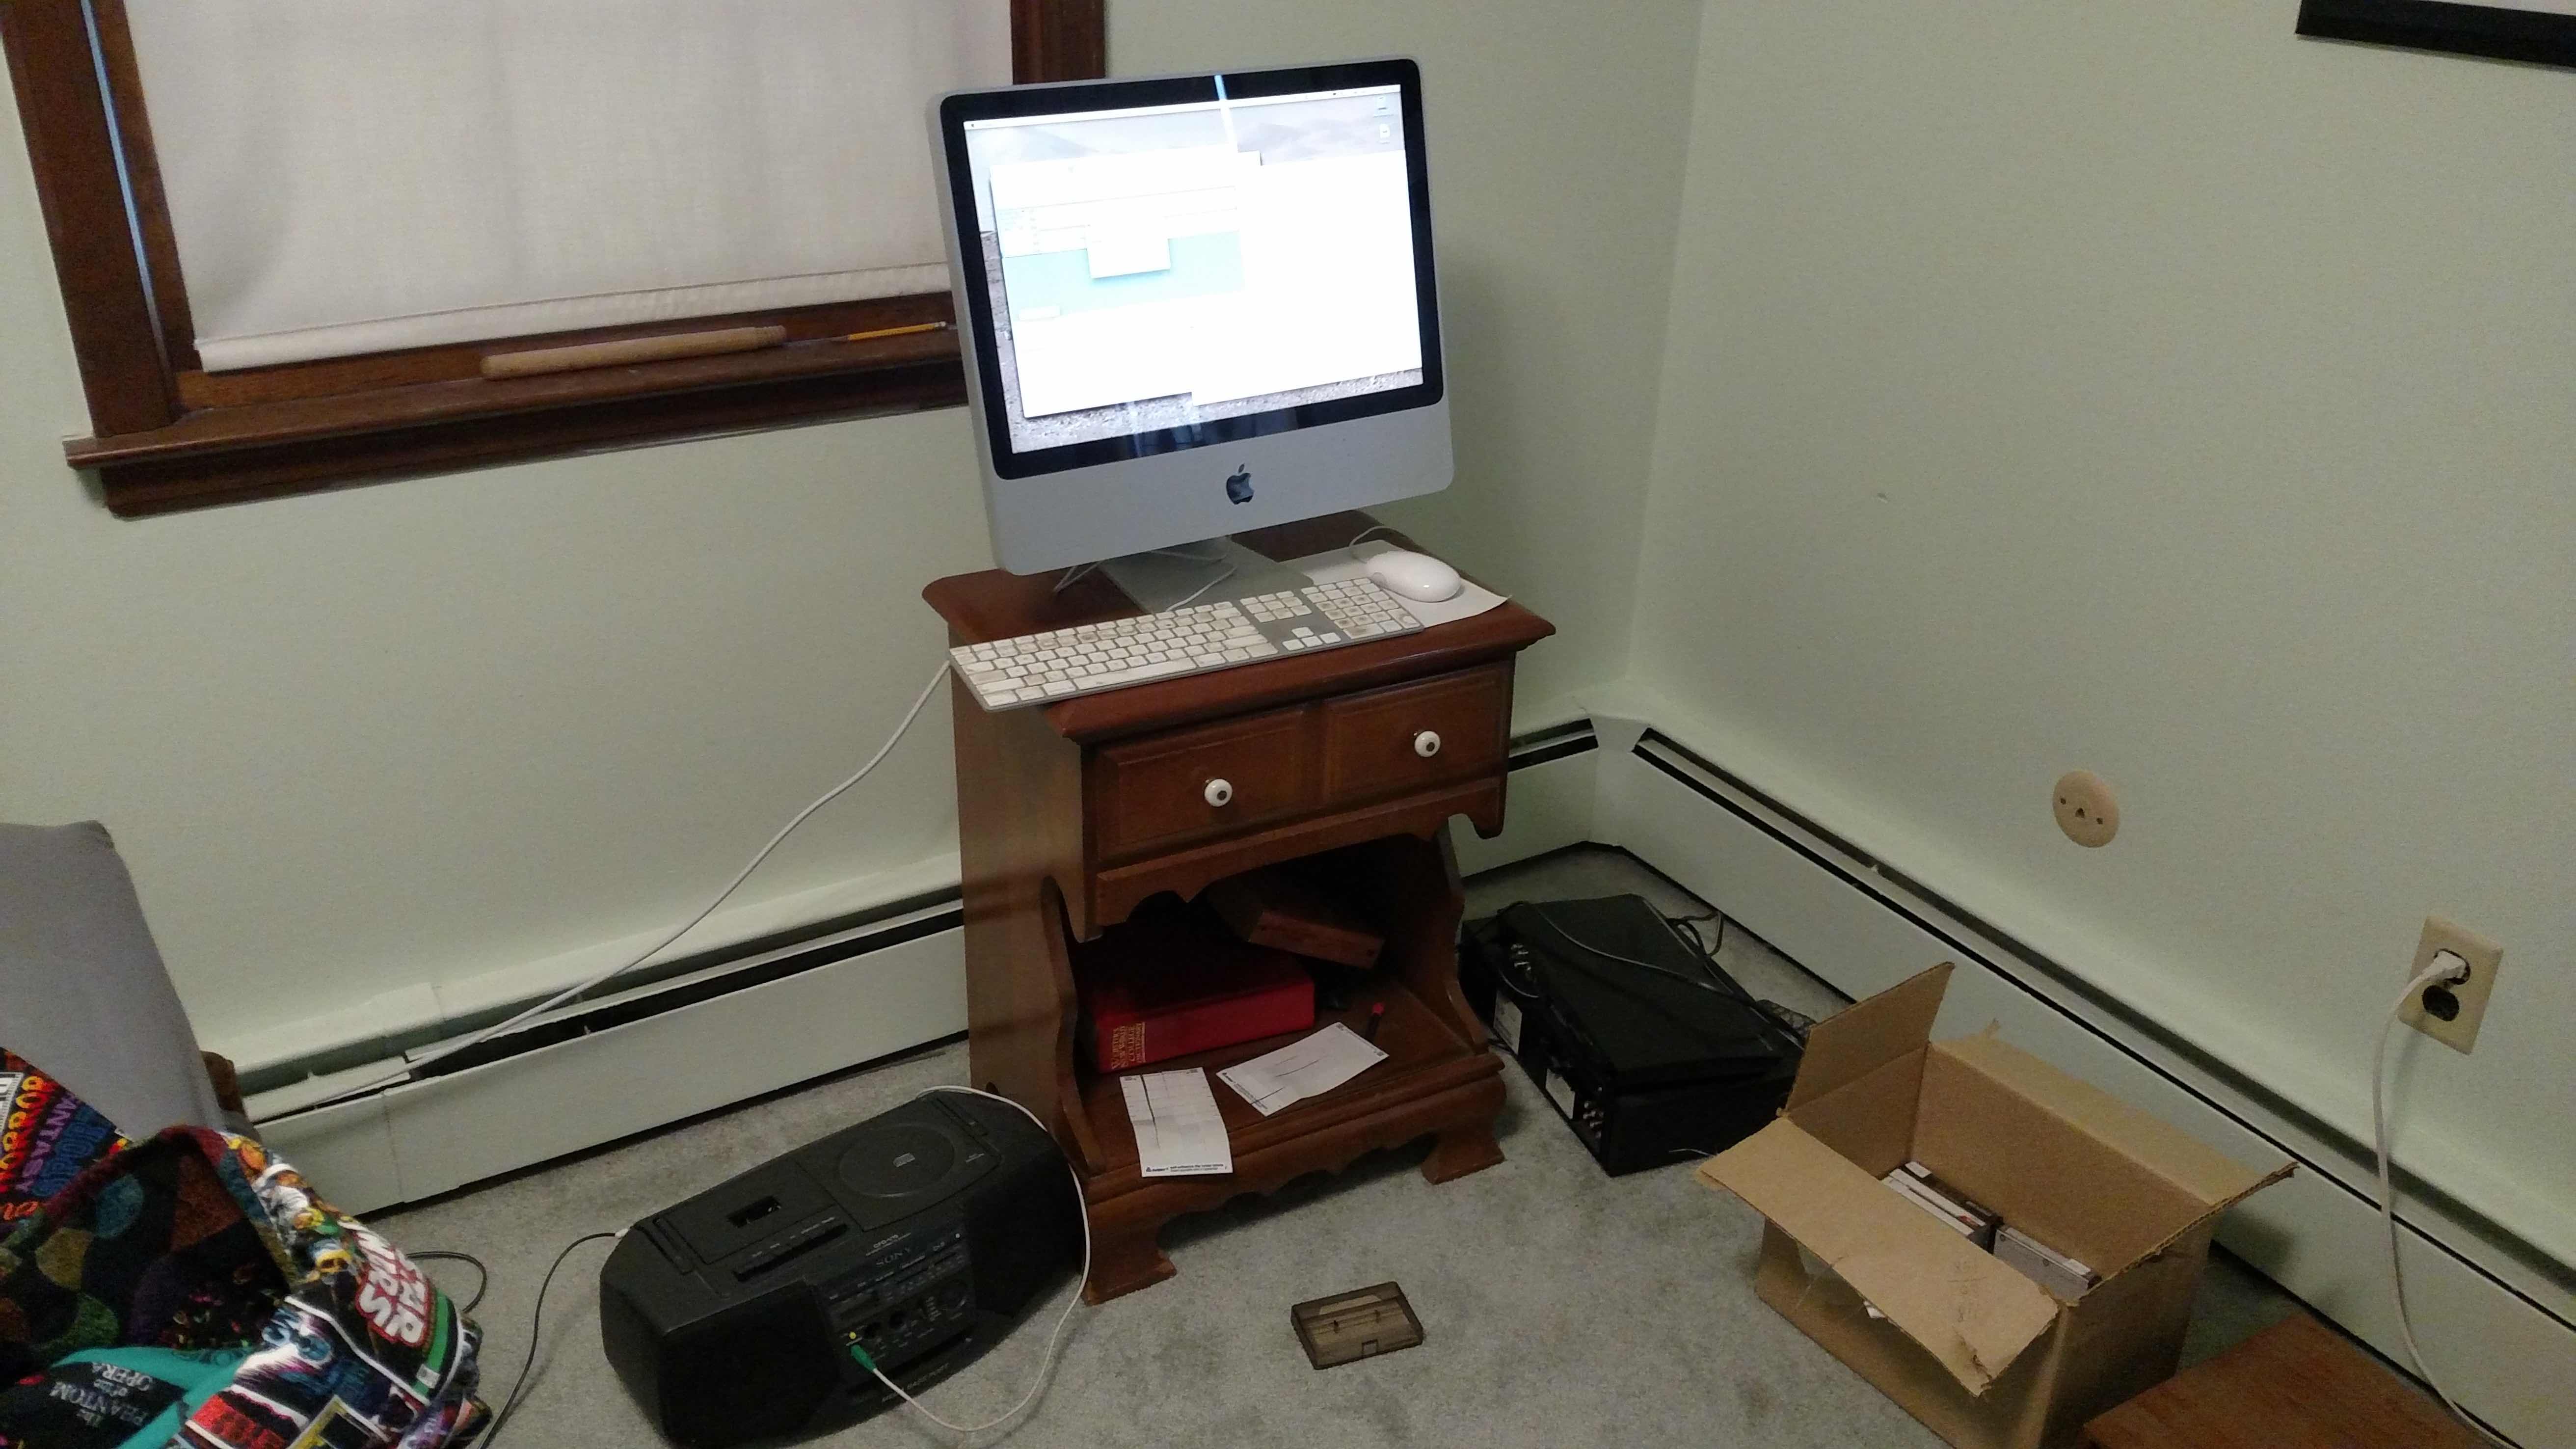
There also were a number of audio cassettes scattered about the house, which were rather simple to rip. For these I simply used an older iMac with an audio-in jack connected to a boombox, the aforementioned boombox, and a version of Audacity compatible with the version of Mac OS X on the iMac. It was tedious, but my approach was simply to play the cassettes back in real time and keep a 30 or 45 minute timer (depending on the side length) to alert me when the cassettes needed to be flipped.
 |
|---|
| A lightly improvised cassette ripping studio |
Concurrent with my analogue ripping tasks, I also juggled finding means to migrate data from numerous obsolete digital media to my laptop’s hard drive. I had mixed success on this front, ripping a small number of 3.5 inch floppies, all of my family’s 5.25 inch floppies (this was actually the easiest migration, somewhat counterintuitively), and various other SCSI-based media.
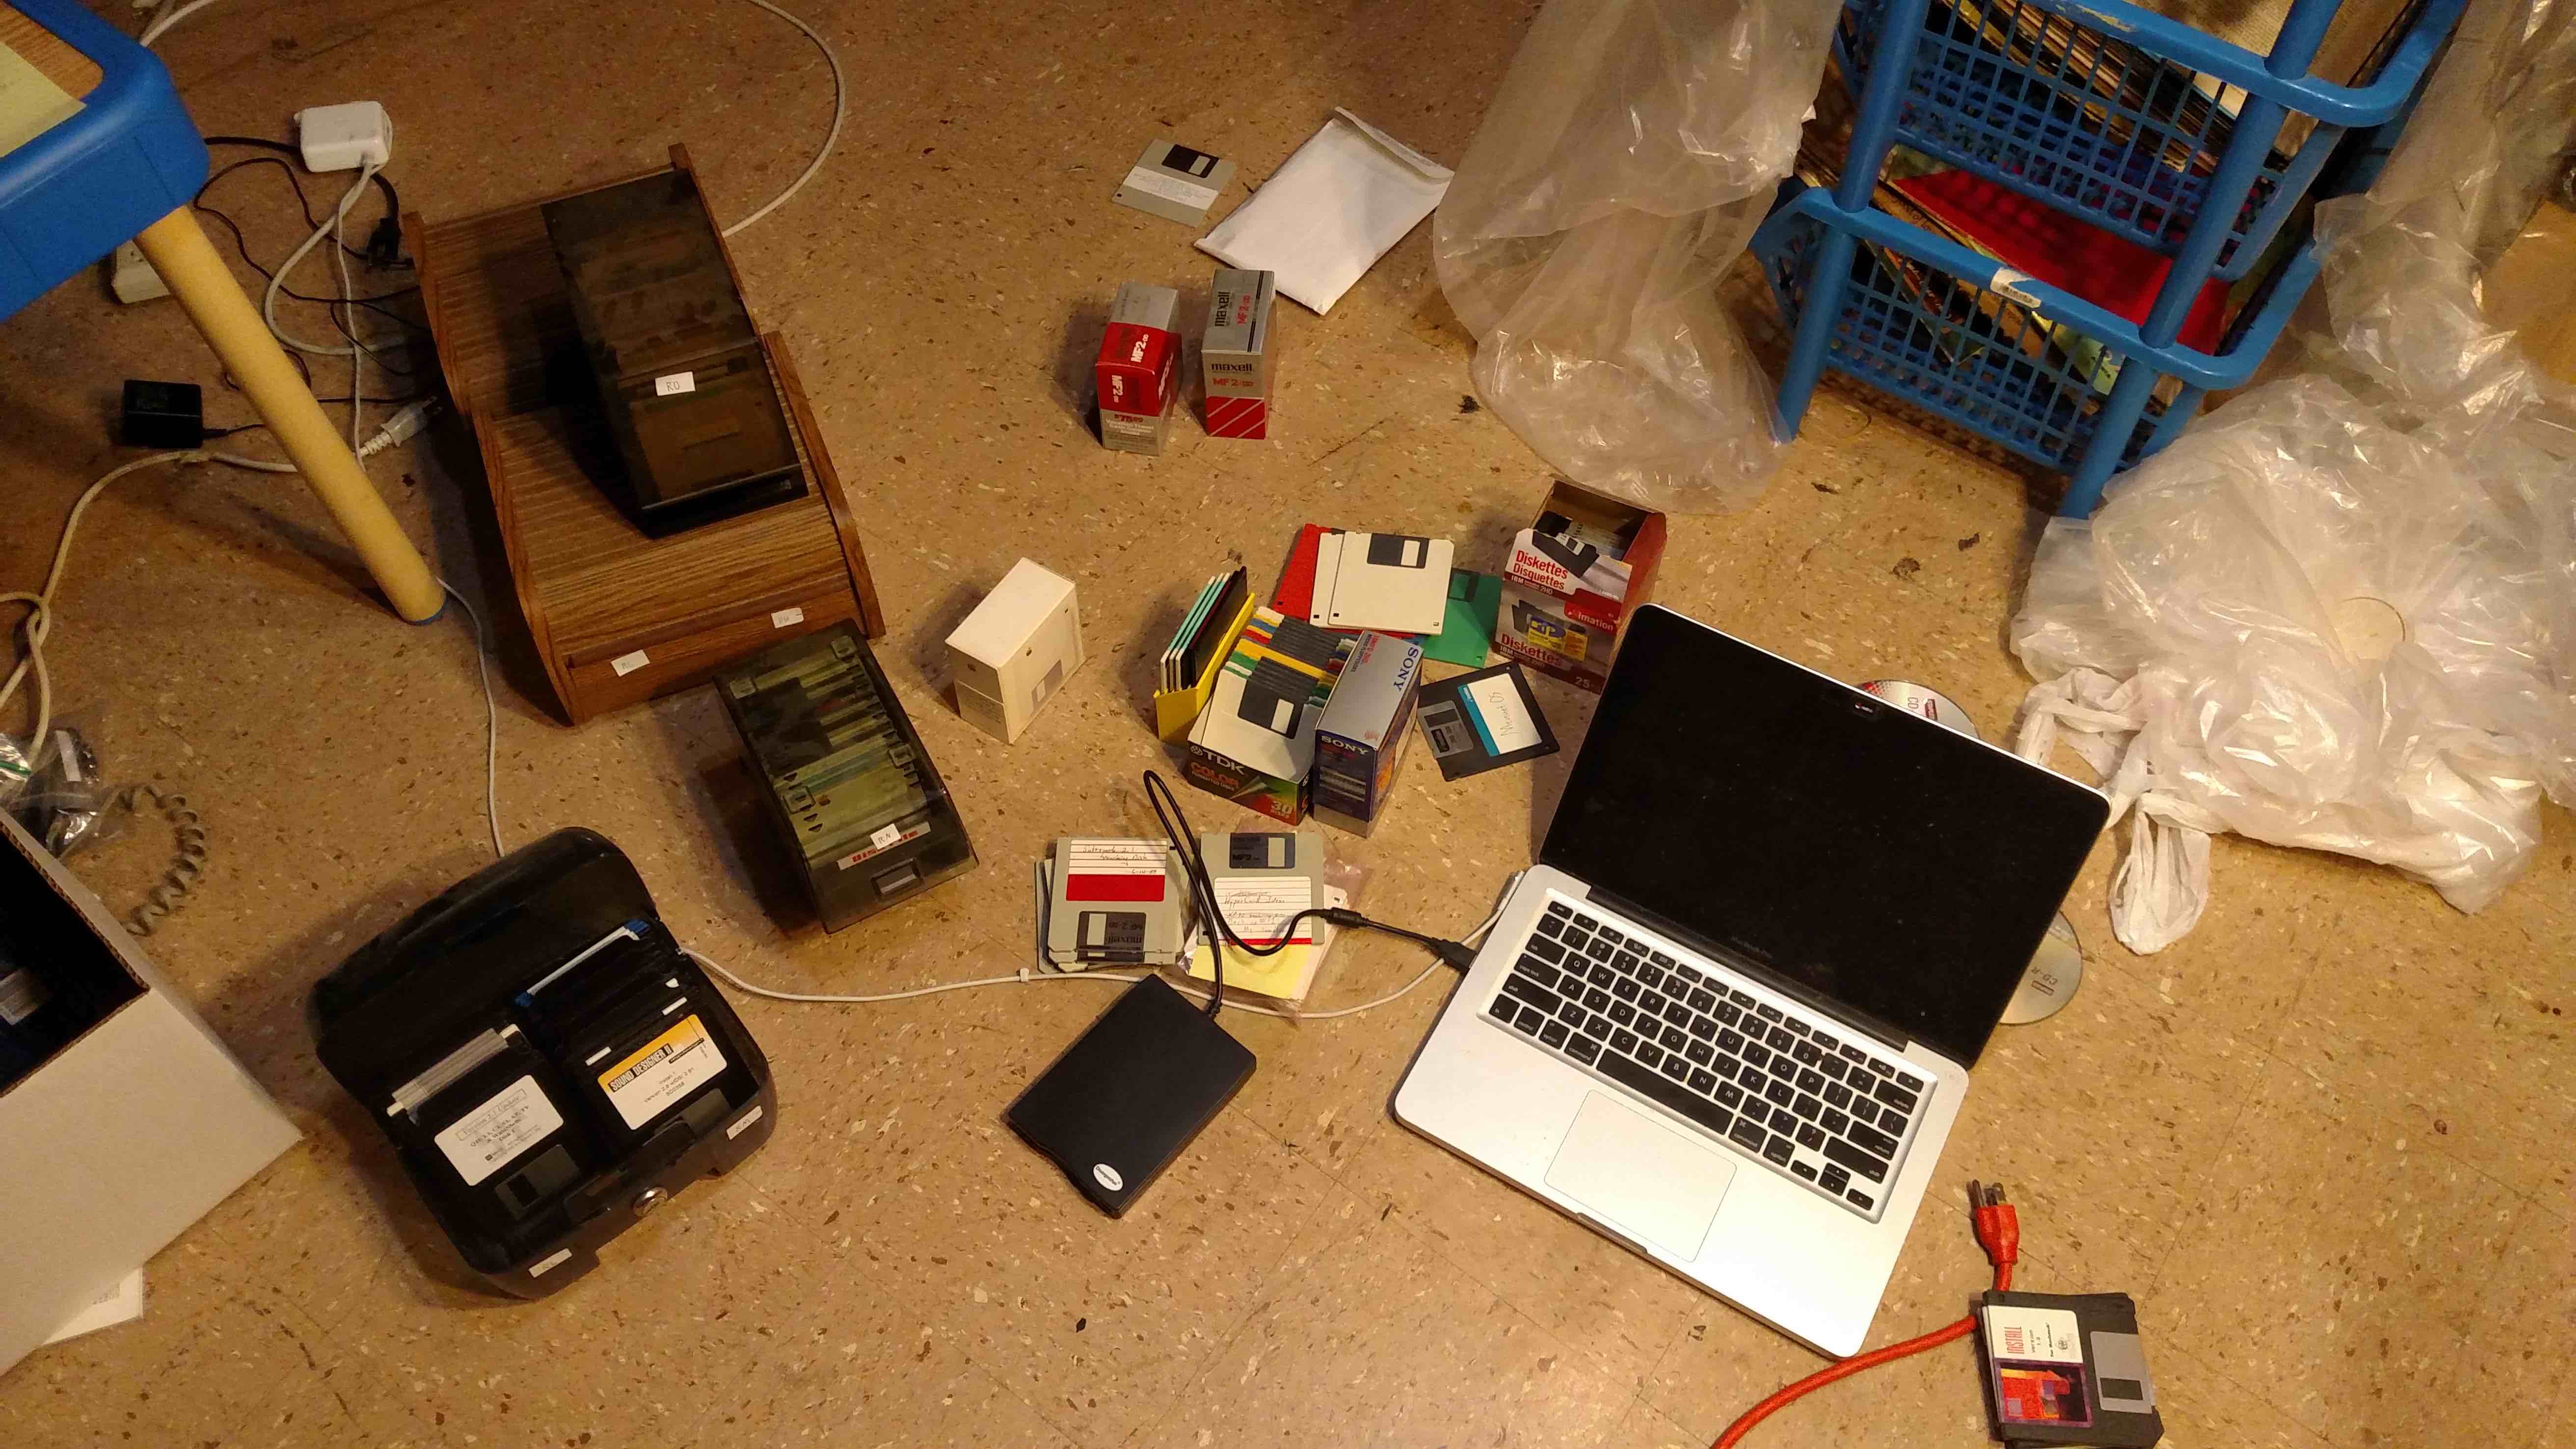
I started with the 3.5 floppies because I had preemptively purchased a cheap USB floppy drive (from Chuanganzhuo) and I figured this would be the easiest task. My strategy was simply to run dd on each disk as I inserted it and then eject it afterwards. On Macs this can be a bit tedious, since you first need to run diskutil unmountDisk /path/to/dev to unmount the disk before invoking dd, so I wrote short script to wrap this command, dd, and a sleep between the two for safety. Unfortunately, I was only able to get through about 47 floppies (including a few curiosities from a local mid-90s ISP) due to a hitch involving Apple Macintosh floppy disks. According to Sonic Purity, Apple (in the true spirit of “Think Different”) had outfitted their floppy drives with variable speed motors to cram in an extra 40-80k onto each disk, and the only way to migrate floppies designed for these drives was to use the original hardware. This explained why numerous disks simply refused to mount with my USB drive, leaving a large number of disks orphaned until a suitable machine for a future migration can be found (both my Mac Plus and Centris were busted, unfortunately).
 |
|---|
| The 3.5 floppy migration setup |
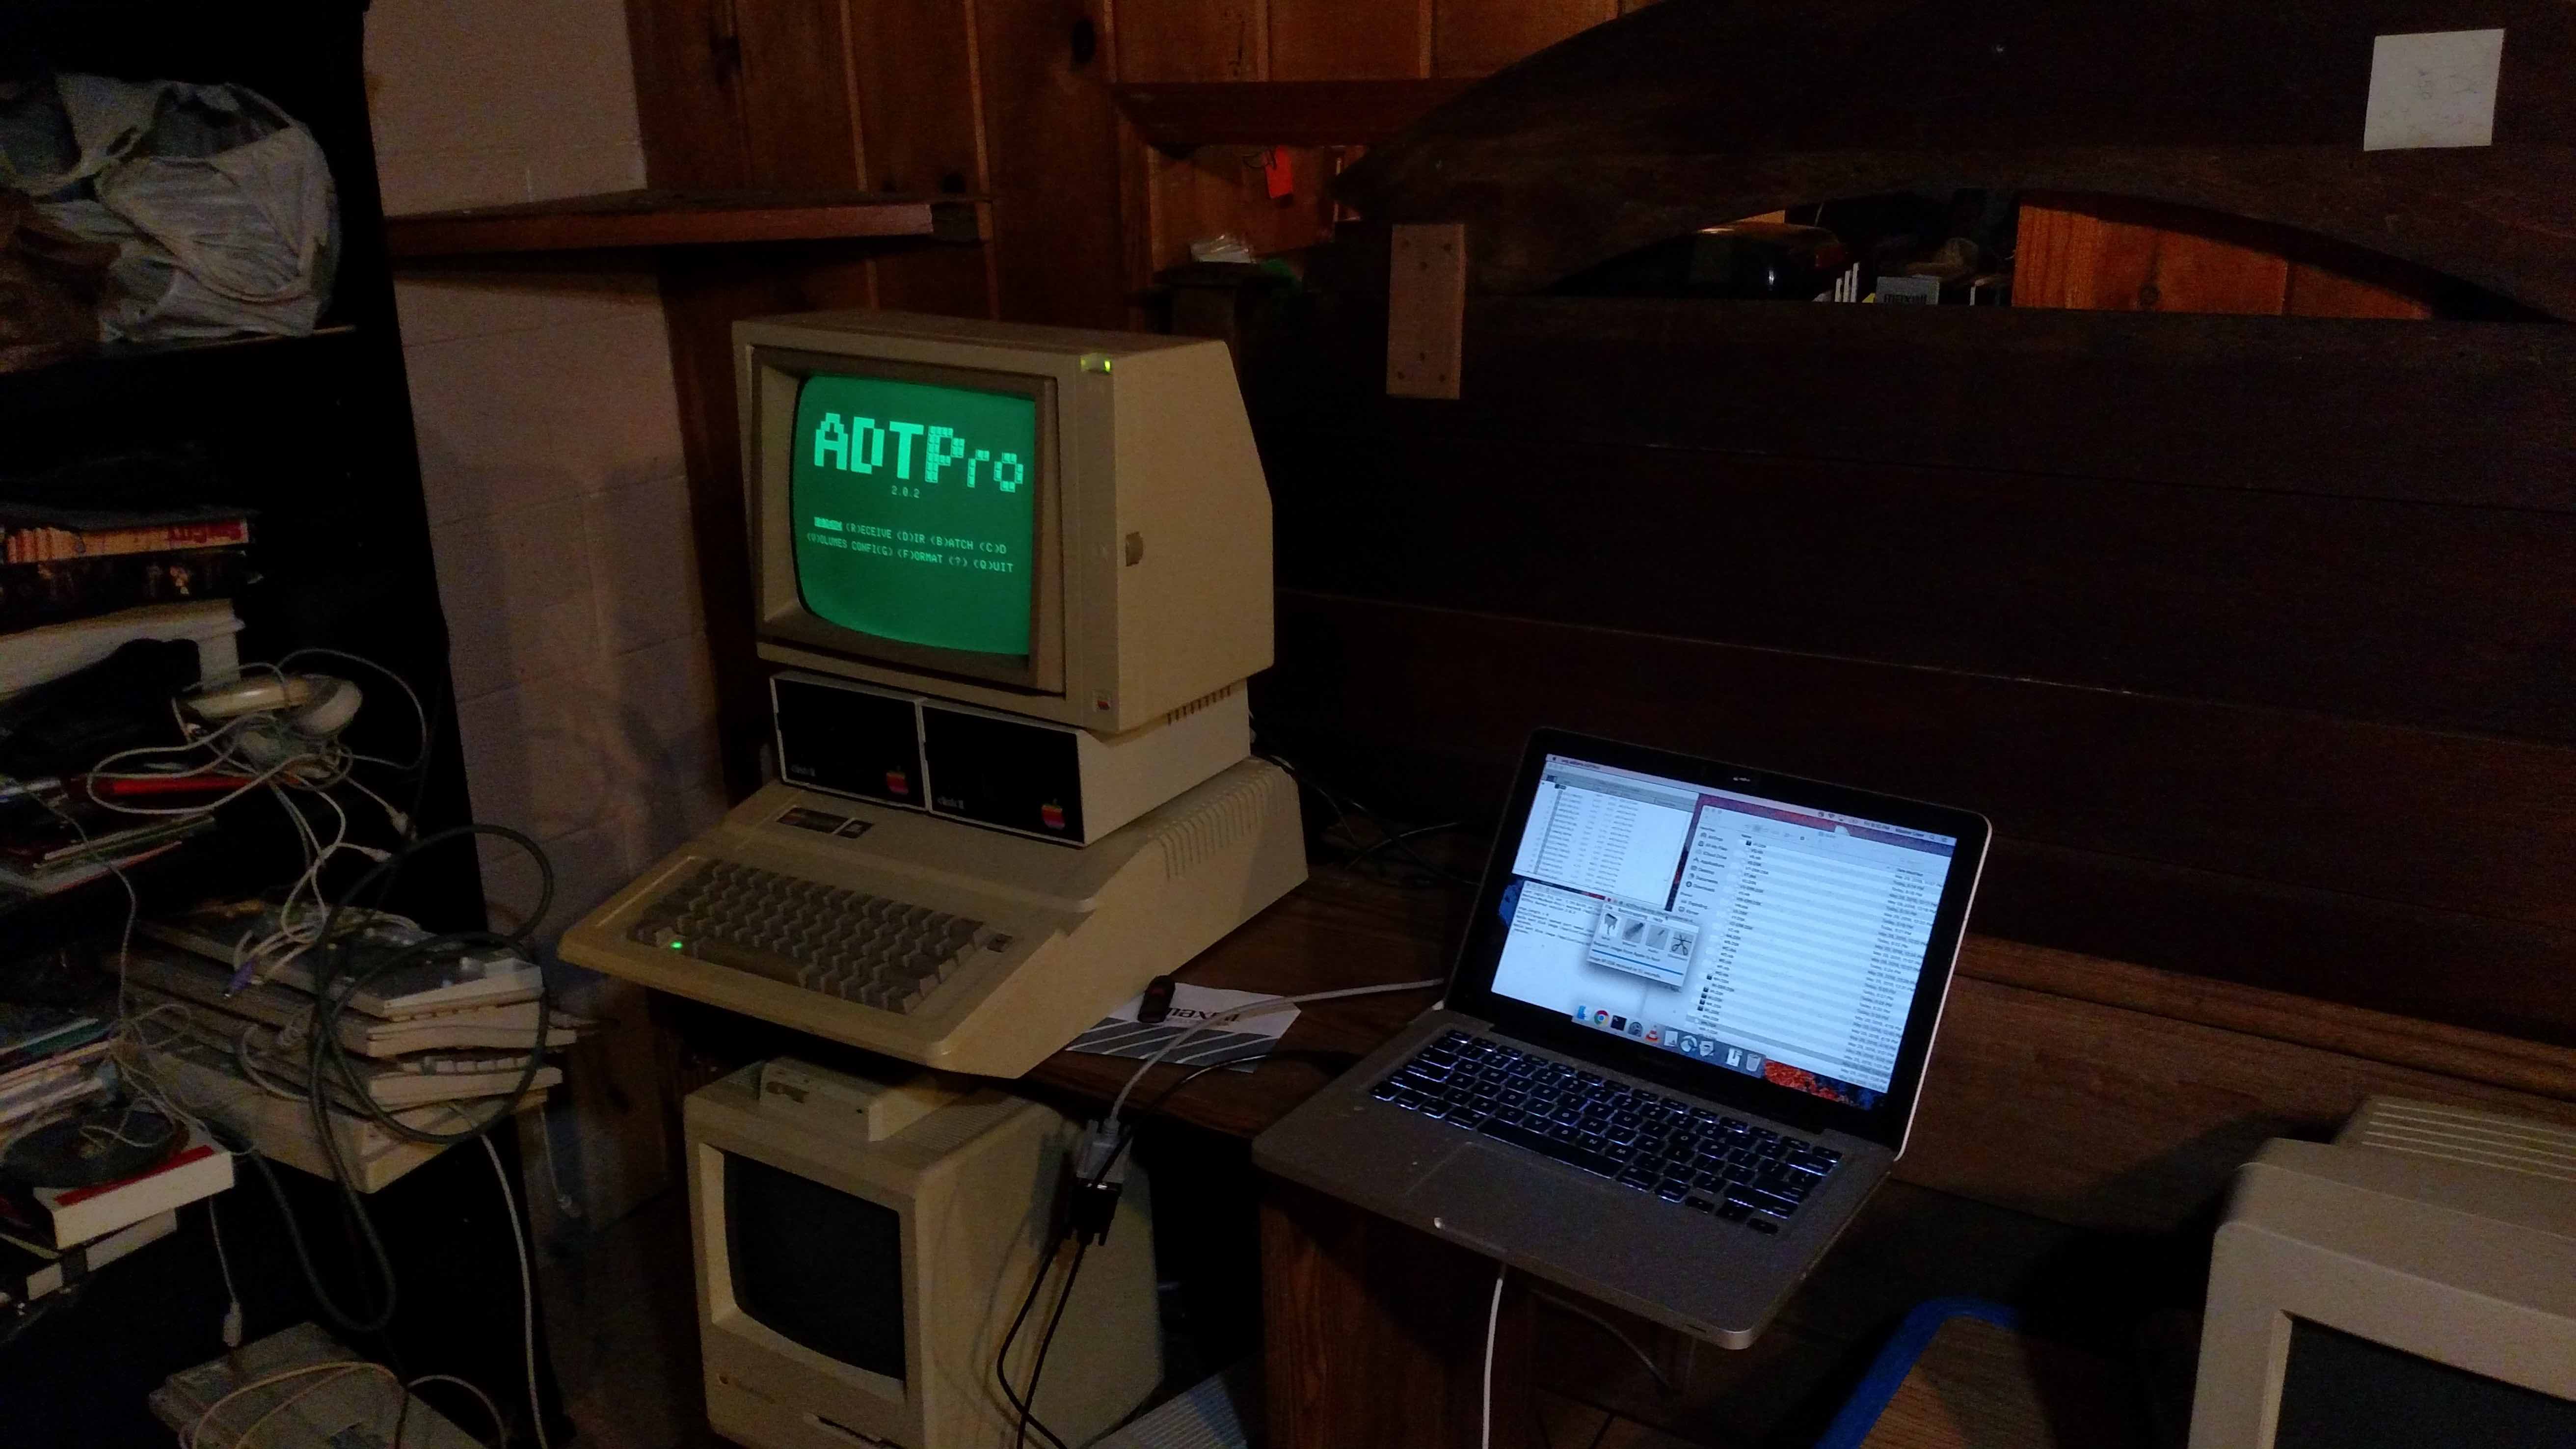
The 5.25 floppies were refreshingly easier, which shocked me since the hardware I was dealing with was substantially older. For these I used an Apple IIe with ADTPro, a Super Serial Card (though I also had several Serial Pro cards that I was tempted to experiment with), a DB9 to DB25 null modem connector, and DB9 to USB adapter.
 |
|---|
| The Super Serial card, before setting the jumpers |
I had originally considered using the audio jacks on the Apple IIe instead of the serial interface but after realizing how ridiculously slow this would be (about 13 minutes for one 140k floppy according to the rate here) and how fatuously stingy I would have been, I went ahead and went the serial route. The actual transfers were relatively seamless, although I was unable to use the Speediboot bootstrap for some reason and had to send ProDOS first followed by the ADTPro Serial program before I could save the ADTPro client to a 5.25 inch floppy. There were a few floppies that crashed the ADTPro client and gave the monitor a ‘Snow Crash’-like error of various characters, but I was able to avoid this by either retrying or transferring the disk as a nibble image. Naturally, some of the disks experienced data corruption due to their age, but I was pleasantly surprised to find that most were migrated without errors.
 |
|---|
| My 5.25 inch floppy migration setup |
Afterwards, to enjoy the fruits of my labor I tested some of the 5.25 disks I ripped with Virtual II and had a good time replaying a few games of questionable quality that I wrote in BASIC during elementary school.
 |
|---|
| First screen of a game of questionable quality |
 |
|---|
| Second screen of a game of questionable quality |
Last (but not least), I migrated a number of SCSI-based media to my laptop by buying a SCSI II card and then installing it into a PC I built when I was in 7th grade (900 Mhz Duron; MS-6330 motherboard). Aside from a few hiccups (Ubuntu Server 10.04, one of the last releases of a modern distro I could find for a 32-bit x86 chip, was not happy with my ATI Radeon 9800 Pro and I had to replace it with an ATI Rage 128), I was able to connect several devices to my old PC, dd their contents into files and then transfer these files to my laptop via a USB thumbdrive. In this way I ripped an older hard drive I used when I was in 5th grade for storing 3d models and several Jaz disks. I’m slightly less sure that the Jaz disks ripped properly though- the Jaz drive started to complain when the dd output got to around the 730 MB mark, which makes me think that I encountered some form of the infamous click of death and will need to try another drive to migrate the data on those disks with higher fidelity (the resulting images were mountable within a Sheepshaver environment though, so I was still able to see most of the possibly corrupt files).
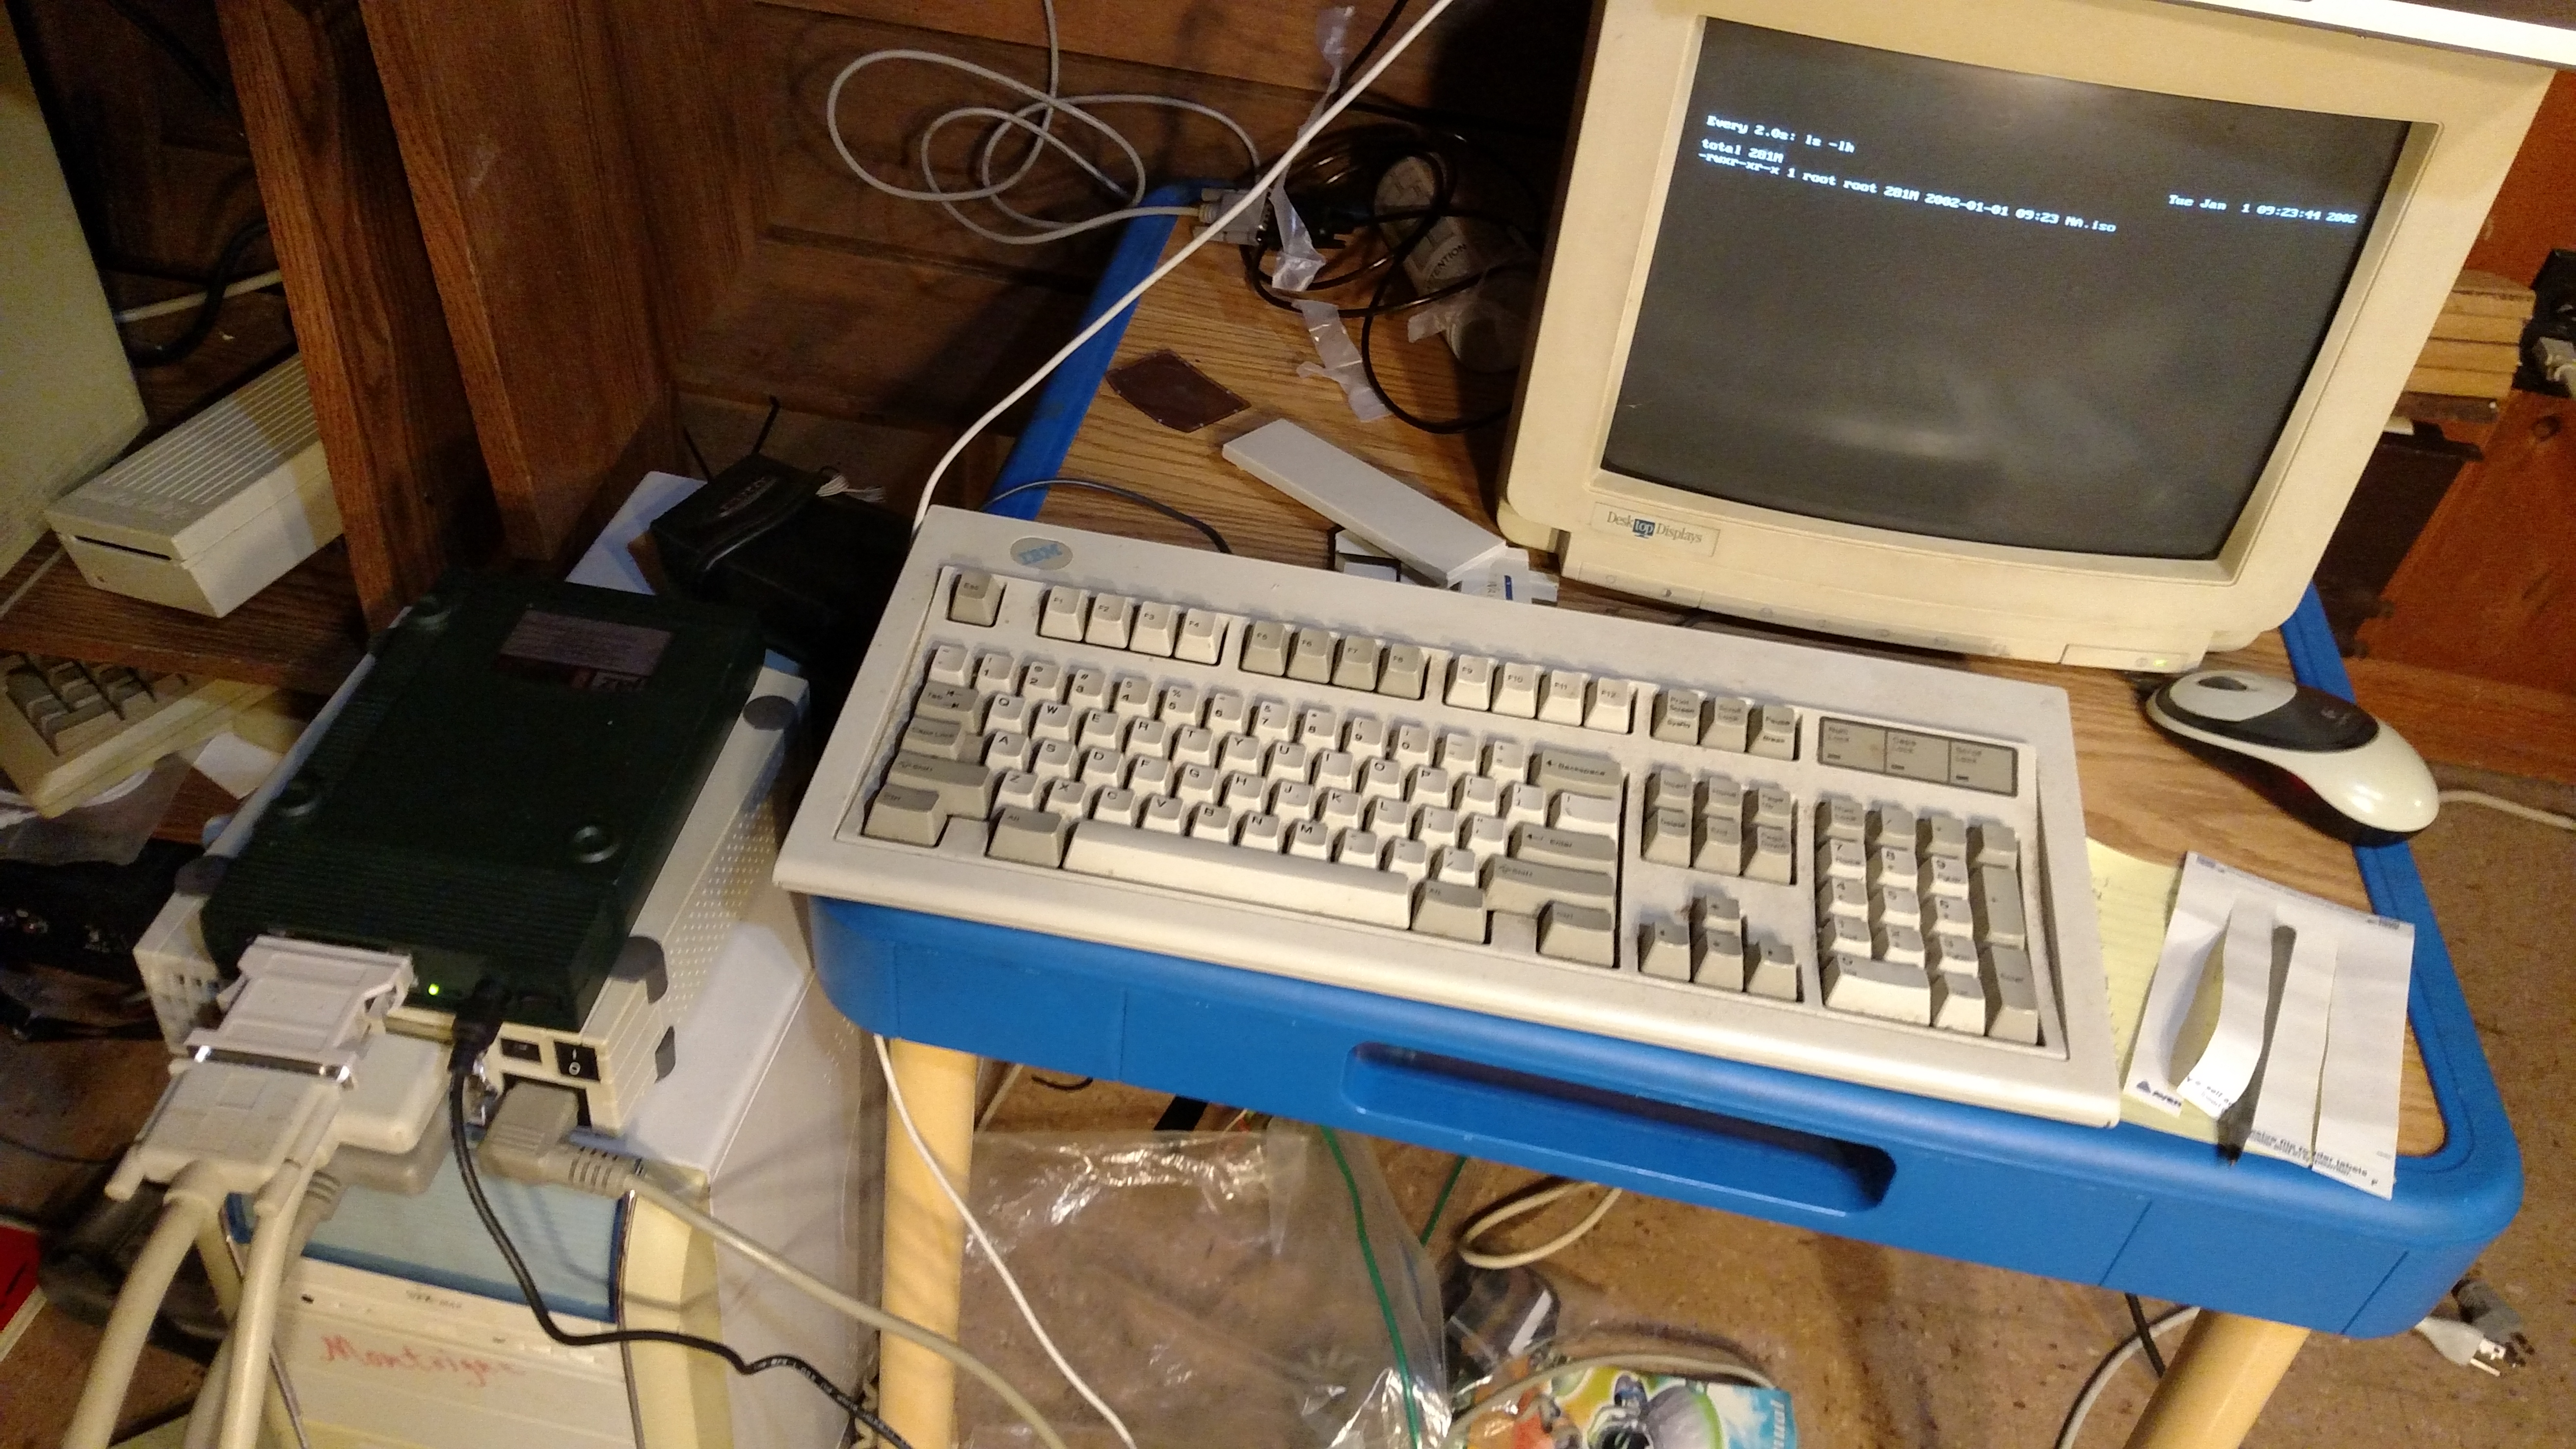 |
|---|
| SCSI Migrations with “Montaigne” |
I also tried to migrate a 30 MB Mac Plus external hard drive and several 88MB SyQuest disks with this setup, but experienced little luck, possibly due to lack of driver support or some other quirk that I’m not familiar with.
Some particularly observant readers might notice stickers on the media that I was digitizing. These stickers are essentially base 26 numbers using only letters and no numerals, that are part of an ad-hoc classification scheme wherein certain media are allotted specific ranges. This allowed me to easily match tagged photographs I had taken of each item I migrated / digitized with the copies that made their way to modern media.
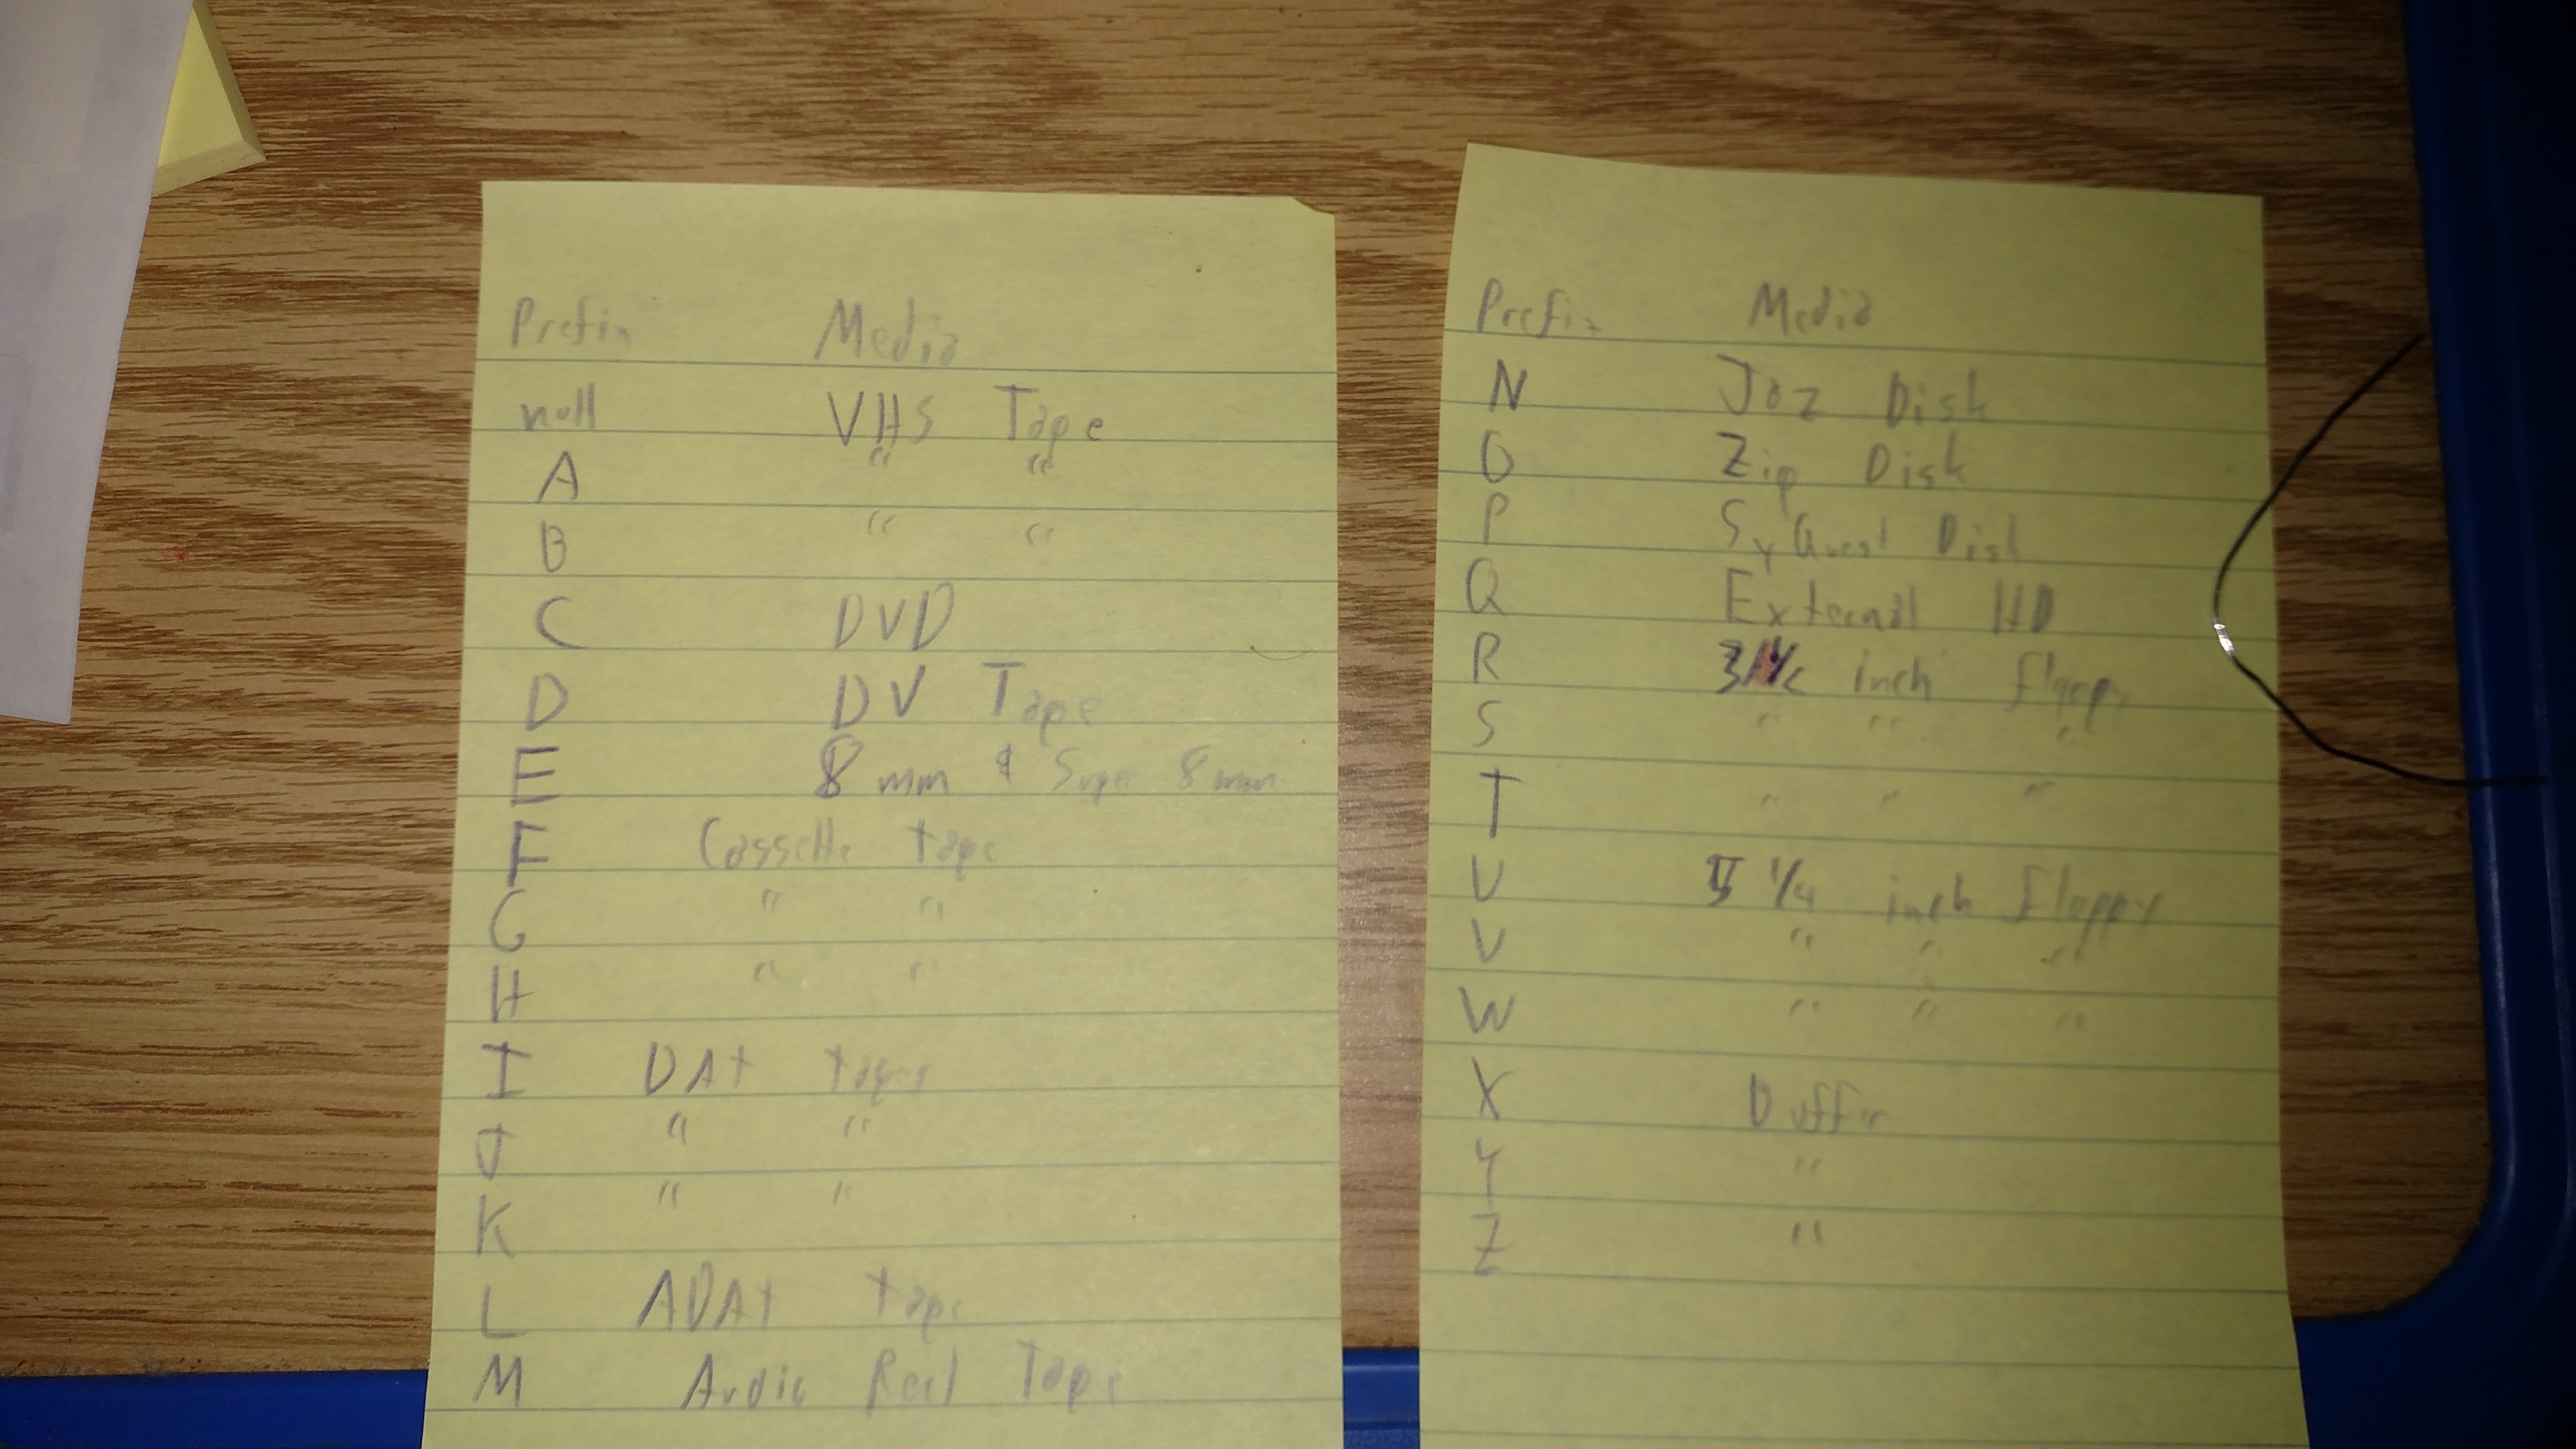 |
|---|
| My ad-hoc classification system |
Thus concludes the chronicle of my most recent great foray into the world of hobbyist data migration / digital preservation. I’m nowhere near done with completely migrating everything, but I made good progress and am confident that I’ll be able to finish the rest in due time (I’ve already been thinking about the possibility of using a Wolverine 8mm digitizer for some old family movies that my grandparents made). I can also rest a little easier at night, knowing that a large chunk of otherwise atrophying physical media have been given new life on modern storage devices.